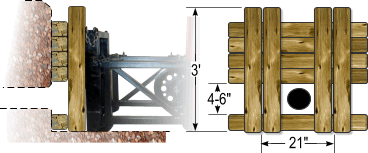
 |
| Shore
the wall of the hole where the Pipe Genie will be situated.
Using 4x4 timbers assemble a retaining barrier as shown. Brush
out debris from the pipe area. The Pipe Genie will be situated
against this retaining barrier. |
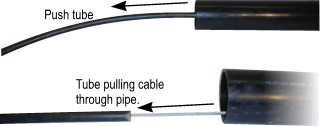 |
| Insert 'Push Tube' and then
attach the cable. |
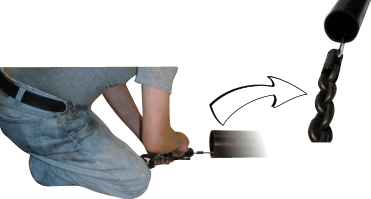 |
| Pull
cable through and then attach the chain. |
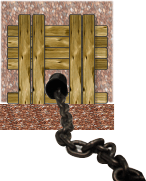 |
| Pull chain through pipe. |
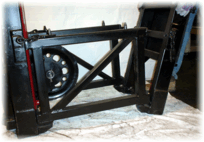 |
| Set
frame of Pipe Genie in the hole. Note Step 1 and ensure frame
is butted against retaining barrier as described. |
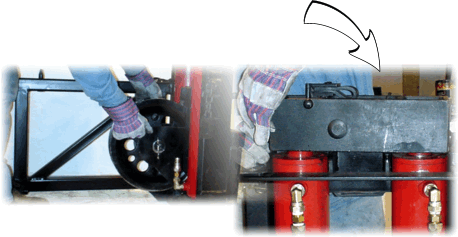 |
| Assemble cylinder(s), pulley
and top pulling assembly. |
 |
| Pass chain around pulley and
top box assembly. |
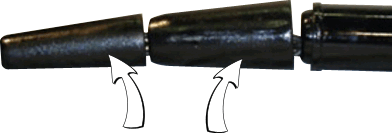 |
| Install breaking cones over
chain and then install the pipe guide. |
 |
| Hook
up pulling chain to block (flat end forward) and hook up retaining
chain. |
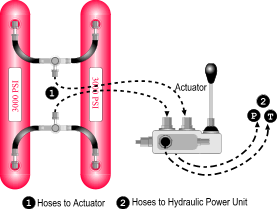 |
| Hook
up hydraulic hoses from cylinders to actuator, and from actuator
to the supplied power pack. |
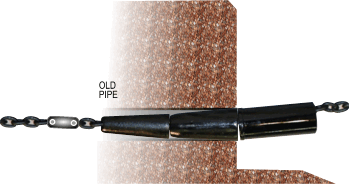 |
| Start
the power pack, and start pulling cones into the old pipe. |
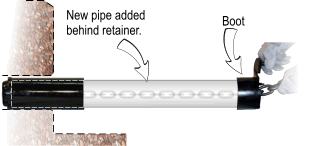 |
[12]
Insert chain into new pipe and insert new pipe into the pipe
guide.
[13] Pull retaining chain snug and hook up boot. You're ready
to begin installing pipe. |
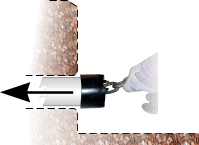 |
| Begin
pulling until the pipe is in and the boot is at the bank. Repeat
these steps (13, 14, 15) until all the pipe is in. |
 |
[15]
When the breaking cones come through, remove them one at a time
by releasing the chain coupler, and then finally release the
pipe guide.
[15a] Once pipe is fully through, remove the pipe boot and retrieve
the chain. |
|